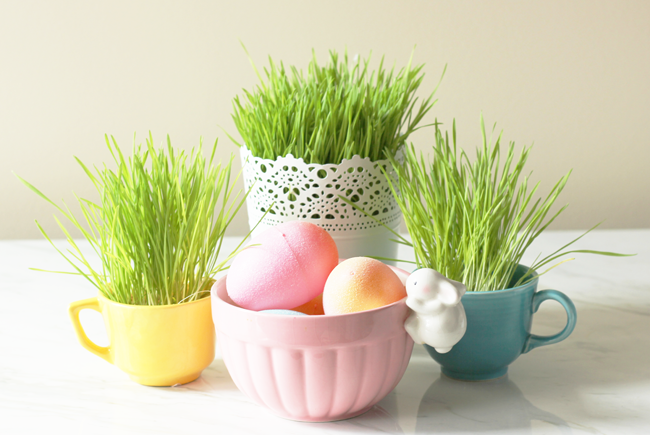

Growing your own fresh grass is really easy- and you don’t even need soil to do it! If you’d like to make live grass centerpieces for your upcoming Easter dinner, or just to make really cute accent pieces at your spring functions, it’s cheap and easy to do…even if you suck at gardening!

All you need is a bag of wheat grass seeds and a seed sprouter (or you can use a thin tupper container with holes in the bottom to drain water). You will need to plan ahead, since seeds take about 7-10 days to sprout and mature. You’ll also need to keep the sprouts near your sink so you remember to water them in the morning and evening…you’ll want the seedlings to stay damp.

Wheat grass seeds will get really root bound, so you’ll want to give the seeds room to spread out, so don’t put too many seeds down. You’ll want to adequately cover the bottom of the sprouter or tupperware, but not so many that you have a thick layer of seeds that will both waste seeds and overcrowd their growth.

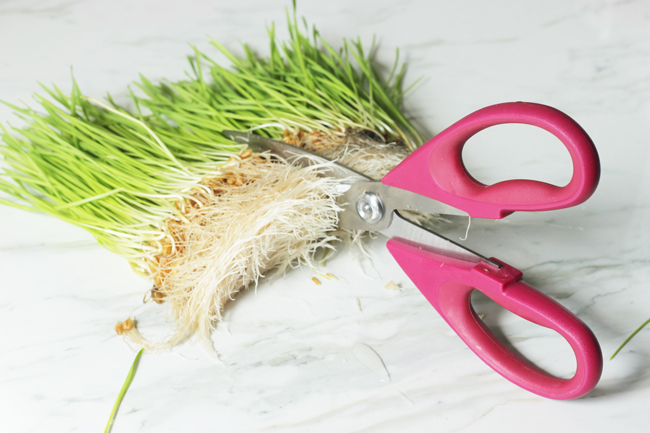
You’ll want to water the seeds twice daily for 7-10 days. When they’re ready to be placed in a decorative container, you can simply cut the amount of grass you need to fit the container and place it inside.
I have tried to grow the seeds directly in a decorative container (like a tea cup) but found the seeds were either too wet or too dry without drainage, it really makes it difficult to sprout the seeds- so I recommend sprouting your wheat grass seeds in something with drainage.

I picked up some teacups from a thrift store and that white container is from my local IKEA. It’d also be cute to use baskets, mason jars or terra cotta pots.
This project is super easy- simply spread the seeds, water twice daily for 7 days and then transfer to another container for display. The only hitch is that you have to plan ahead, since seeds don’t look quite green and lush until about day 7, but other than planning, they’re super easy to work with!
Happy spring everyone!
Well this is just about the cutest thing ever.
I know!
Omg this is the cutest! I’m just worried my cat would eat all the grass! haha
Aw, is there any way to place it somewhere your cat can’t get to?
And I just remembered… your cat can eat this… wheatgrass is also known as “pet grass” so even if it wouldn’t be pretty, they sell this at pet stores so it wouldn’t be toxic… 🙂
What a great idea! I think these would also make good spring gifts.
They would!
I shared this on G+. I totally want to do this next year!
It is so easy and is such a cute spring decor item!
Sharing on FB and pinning!
Carolyn
Thank you, glad you enjoyed!